...
| Expand | ||
|---|---|---|
Click the Add a permission button from the API permissions window. 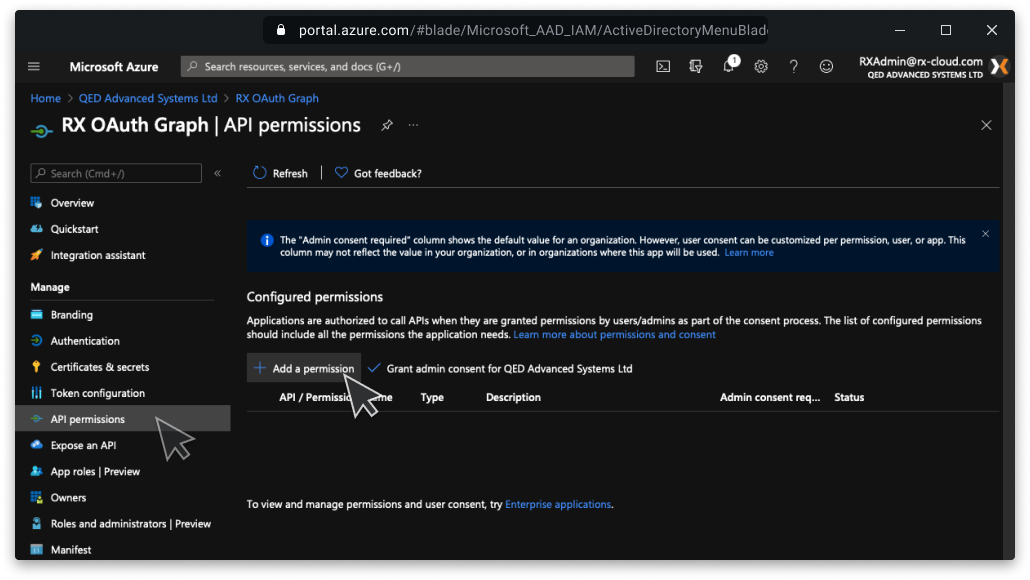 From the Select an API window choose the Microsoft Graph tab. 
Select Application permissions and choose the Calendars.ReadWrite option and click Add permissions. 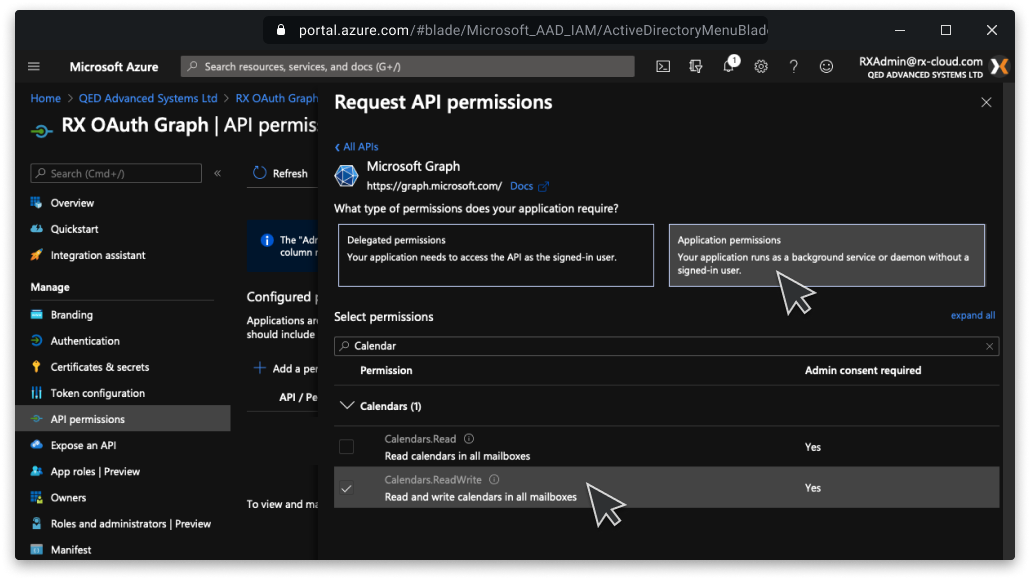 Next, click Grant admin consent and then Accept from the confirmation dialogue box. 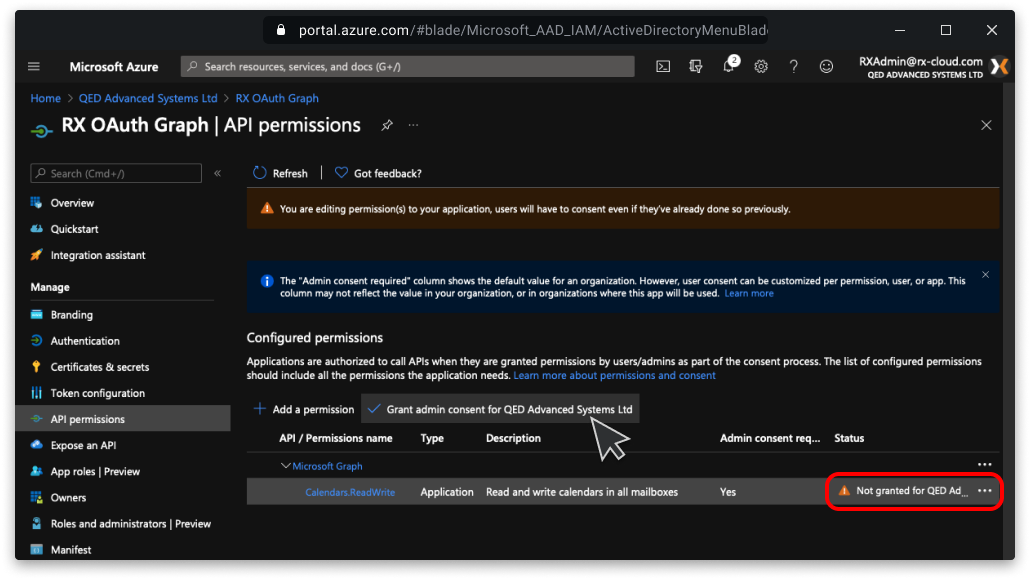 Make sure that admin consent has been granted to the Calendars.ReadWrite permission, this may require the page to be refreshed. 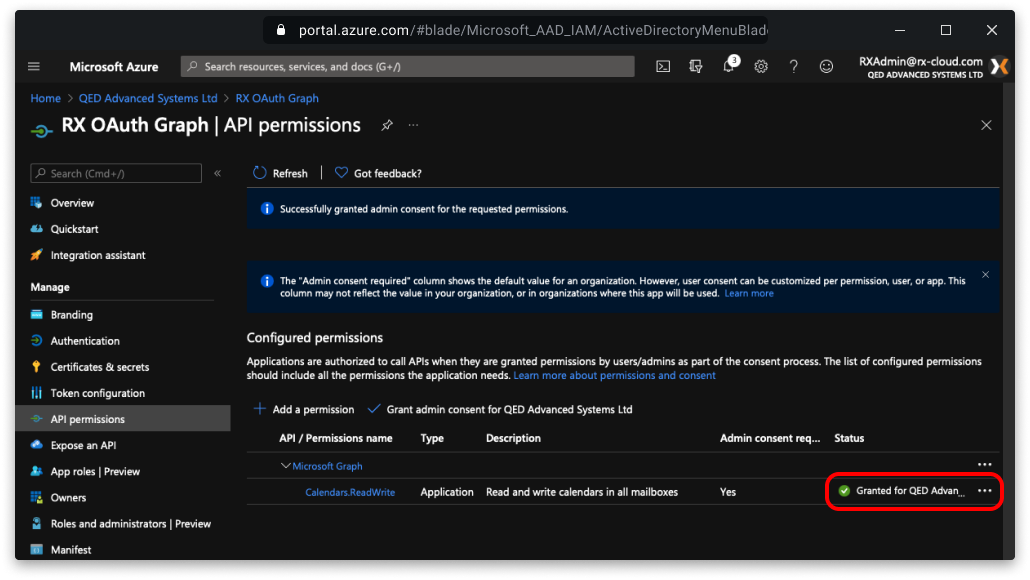 |
...
Required to use OAuth for SMTP
| Note |
|---|
If you are using an Application Access Policy the SMTP account will need to be included within the Security Group. |
| Expand |
|---|
Click the Add a permission button from the API permissions window. From the Select an API window choose the Microsoft Graph tab. Select Application permissions and choose the Mail.Send option and click Add permissions. Next, click Grant admin consent and then Accept from the confirmation dialogue box. Make sure that admin consent has been granted to the Mail.Send permission, this may require the page to be refreshed. 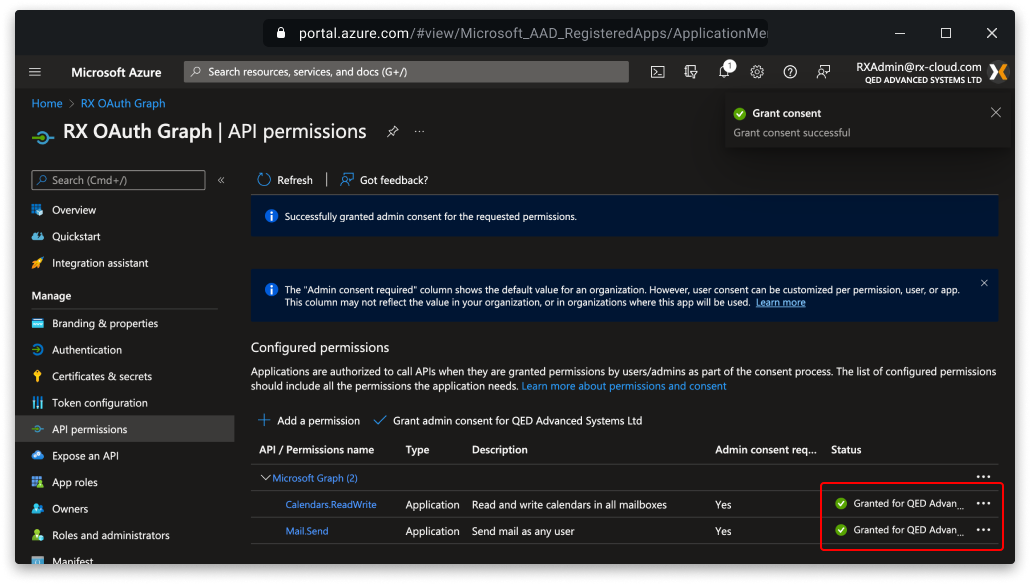 |
Users.Read.All & Group.Read.All permission
| Status | ||||
|---|---|---|---|---|
|
Required to use Azure AD User Sync
User Settings
| Note |
|---|
If you are using an Application Access Policy all users to be synced with RX will need to be included within the Security Group. |
| Expand |
|---|
Click the Add a permission button from the API permissions window. From the Select an API window choose the Microsoft Graph tab. Select Application permissions and check the box for the User.Read.All and Group.Read.All options and click Add permissions. 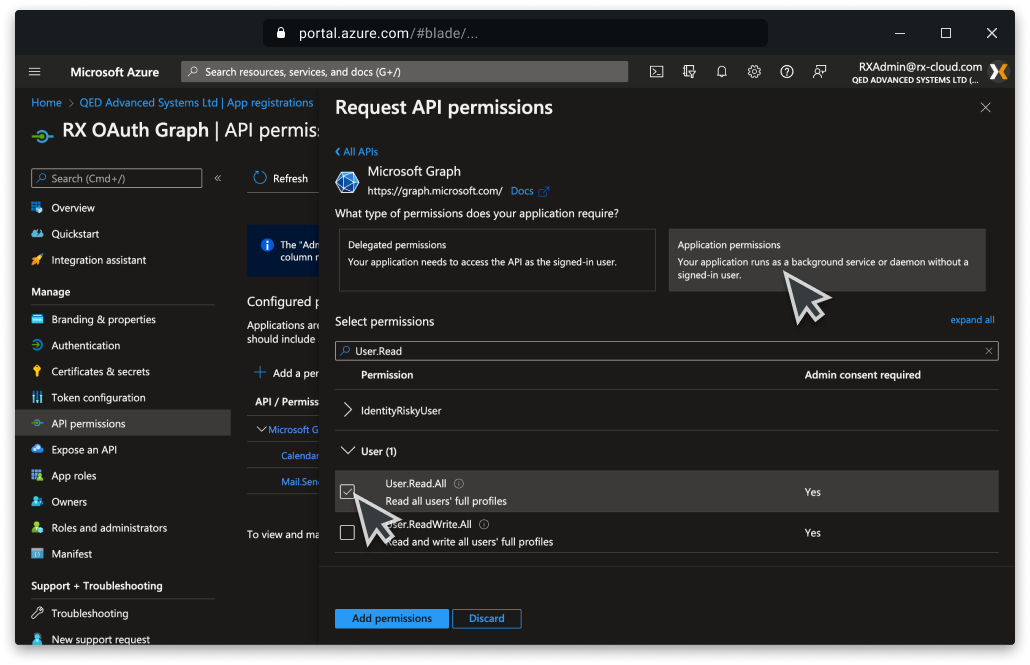 Next, click Grant admin consent and then Accept from the confirmation dialogue box. Make sure that admin consent has been granted to the permissions, this may require the page to be refreshed. 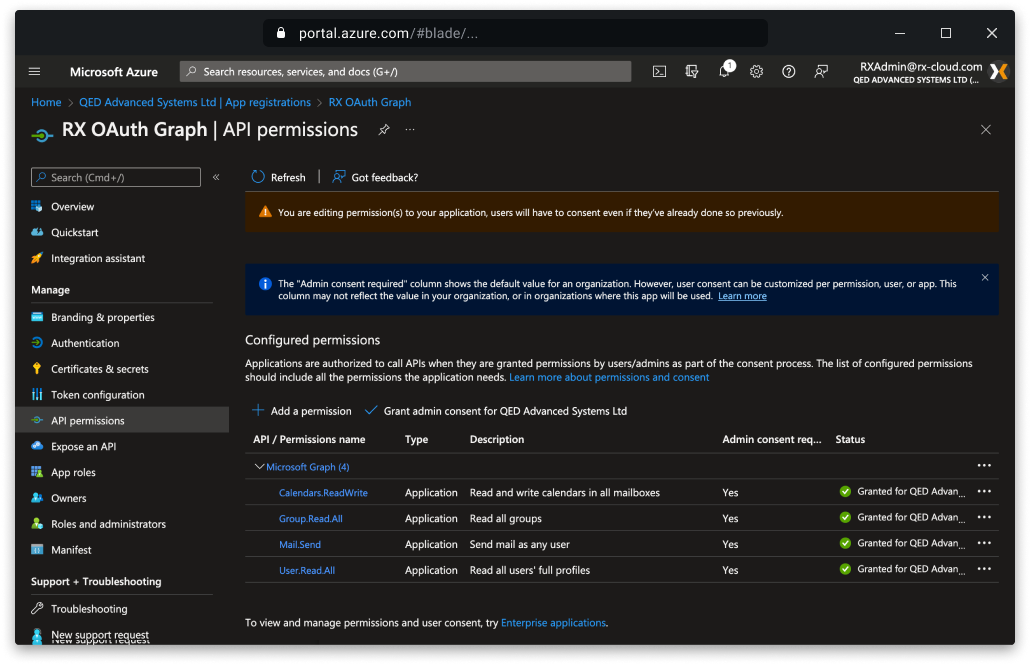 |
Generate the Client Secret
...